Are you looking for a way to expand your outdoor dining opportunities? Maybe you’re working on building a dream outdoor kitchen and already built a mobile grilling station, and a portable cooler stand, but where are you going to sit to eat? These plans for a classic picnic table can help you complete your outdoor entertaining space.
What Do I Need to Build a Classic Picnic Table
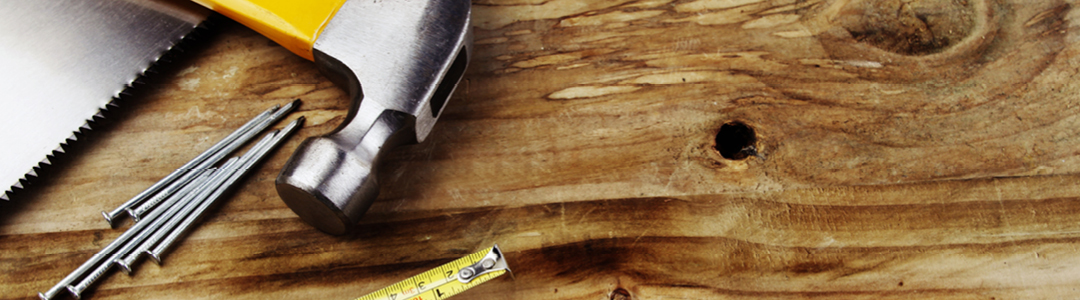
You can use hand tools or power tools to cut and assemble your table, but power tools will make the job go more smoothly. The bracing, cleats, legs, and seating will require cutting angles so a miter box, a circular saw with adjustable cutting angle, or a miter saw are needed.
Clamps will hold together boards that are glued while you’re screwing them together. This will make sure the pieces don’t slide while you’re fastening them.
A screwdriver or powered fastener.
What Type of Wood Should I Use?
You can use Douglas fir but you’ll need to prime and paint your table with an exterior paint, or stain and seal it when you’re finished. If you use western red cedar, you’ll be able to skip those steps because the wood is naturally insect and water resistant, and ages over time to a silvery gray patina.
And while there’s a parts list with the project plan, you’ll still end up cutting some boards for length. Getting the shortest boards you need will save you money and time cutting lumber to size.
What Type of Fasteners and Accessories Should I Use?
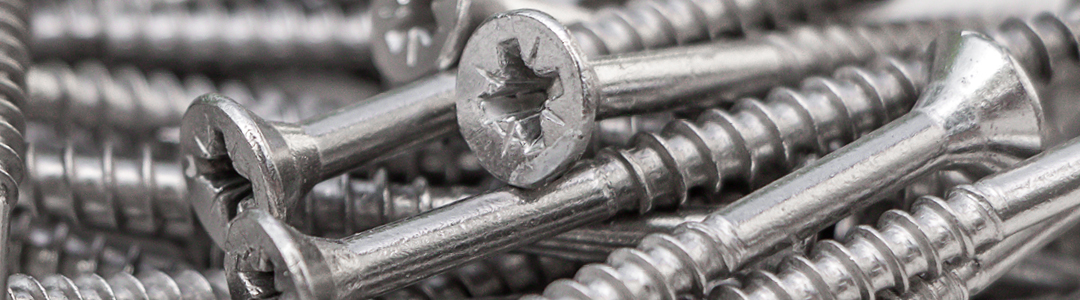
You’ll want corrosion-resistant fasteners. Stainless steel screws will work for this project.
Your Classic Picnic Table Plans
Thanks to Real Cedar for the plans!